


In certain cases, you desire to set up a conversation form or customize the Multi-Step elements as Previous button, Next Button, Progress Bar, etc.
This article will show you step by step to perform it.
Instead of creating multiple templates and assembling them, you just need to apply the Elementor Sections as your Steps.
Step 1:
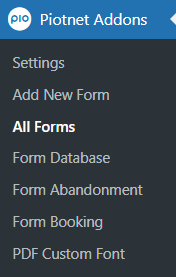
Click on PAFE dashboard > Add New Form/All Forms categories > create a new form.
Step 2:
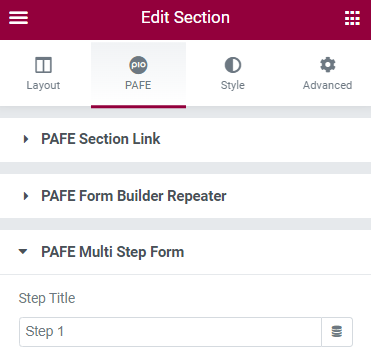
Create a Section > edit Section > PAFE Tab > PAFE Multi Step Form
Then name for Step Title.
Step 3:
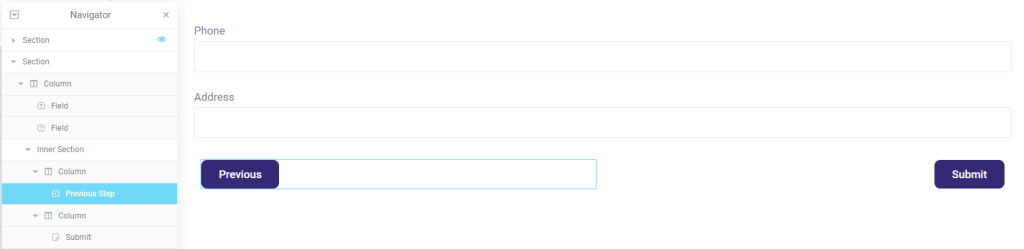
After implementing the necessary fields, drag & drop a Next Step Button to an inner section.
Step 4:
Similar to Step 2, create one more section, enable PAFE Multi Step Form, and name for Step Title.
Then implement a Previous Step button and Submit Button into an Inner Section.
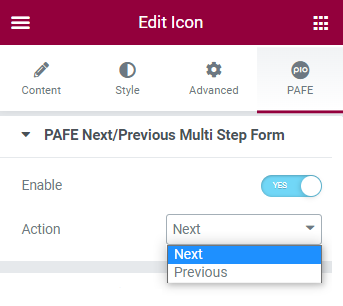
Besides our default multi-step form Next/Previous buttons in step 3+4, the feature also offers an Alternative way: set other elements to play the role of Next and Previous buttons. The elements could be text, image, icon, etc.
Back to the example, I will replace the default next/previous buttons by arrow icons:
– Firstly: Edit Form Steps.
– Afterward: Add arrow icons into the positions
– Finally: Edit the icons, in the PAFE tab, Enable PAFE Next/Previous Multi Step Form, and set suitable actions for the icons: Next or Previous.
Step 5:
Complete your setup in Submit Button as normal ways.
Step 6:
Use the Form Embedding widget and Enable Multi Step Form to render this form to a landing place.
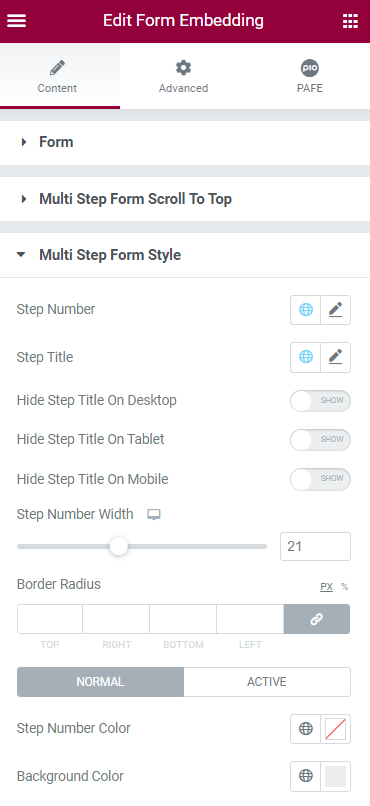
Step 7:
You can customize the style of Progress Bar‘s elements via the Form Embedding widget.

also check your spam folder.
