
The Email/Email 2 settings allow you to assign where the form is sent to and customize the data that is sent.
In addition to adding your form’s email settings manually, these options also use Dynamic Tags (Apply for Elementor Pro). These tags allow you to retrieve WordPress data, or from plugin sources such as Advanced Custom Fields. Items that have the ability to use dynamic data will have the “stack” icon beside the fields input.
Tutorials
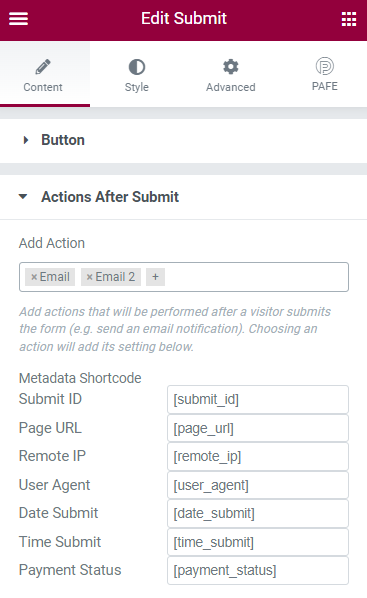
Send Input Information to the Admin via email.
Choose Email action. This will add an Email tab.
Click on Email Tab and customize the content.
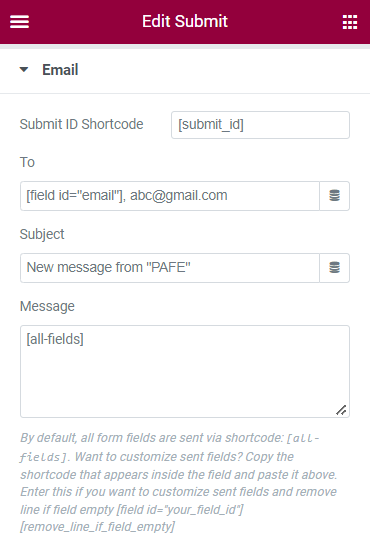
- To: Enter the email address of the recipient of the form, you can embed the shortcode of field (example as an above illustration). You can use multiple email addresses by separating commas.
- Subject: Enter the text you wish to be displayed in the subject of the email
- Message: Here you may use the shortcodes of your form to create the message sent by the form. By default, the “all-fields” option is used.
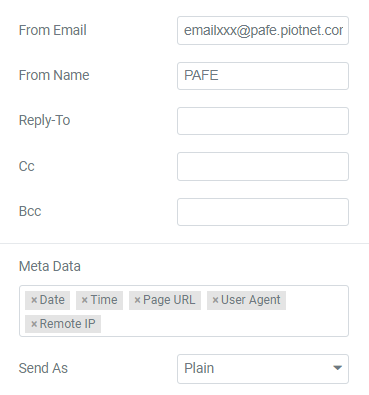
- From Email: Enter the address of the sender or use a norepy@
- From Name: Enter the name, title, or company you wish to show in the email
- Reply To: Enter the address of the sender or use a norepy@
- Cc: Enter the email address of the recipient to be Cc’d (carbon copy)
- Bcc: Enter the email address of the recipient to be Bcc’d (blind carbon copy)
- Meta Data: Here you may add or remove additional metadata that is displayed at the bottom of the form. By default, all options are displayed
- Send As: in the dropdown, select whether to send the form as HTML or Plain text.
Email 2
Send Email Confirmation to the User who submitted the Form.
Email2 is very useful. For example, it could be a confirmation email received by your site’s visitor – immediately after he sent a form on your site.
To create one, go through the same process as above for Email.
Here there is an example how to build the entire email content using HTML:
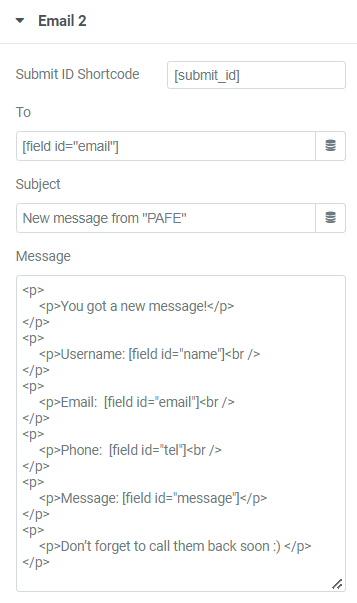
					<p>
     <p>You got a new message!</p>
</p>
<p>
     <p>Username: [field id="name"]<br />
</p>
<p>
     <p>Email:  [field id="email"]<br />
</p>
<p>
     <p>Phone:  [field id="tel"]<br />
</p>
<p>
     <p>Message: [field id="message"]</p>
</p>
<p>
     <p>Don’t forget to call them back soon :) </p>
</p>
To remove the unfilled results in the email, you can use the <check id=”FIELD_ID”> tag and end it with the closing tag </check>
For instance:
					<p>You got a new message!</p>
<check id="name">
  <p>Username: [field id="name"]</p>
</check>
<check id="email">
  <p>Email: [field id="email"]</p>
</check>
<check id="tel">
  <p>Phone: [field id="tel"]</p>
</check>
<check id="message">
  <p>Message: [field id="message"]</p>
</check>
<p>Don’t forget to call them back soon :)</p>

