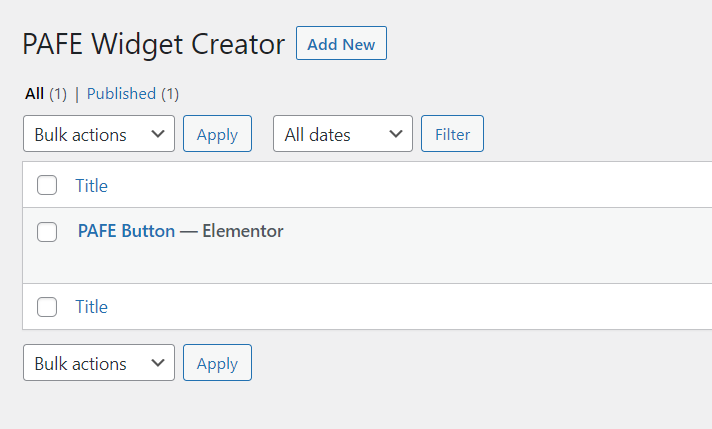

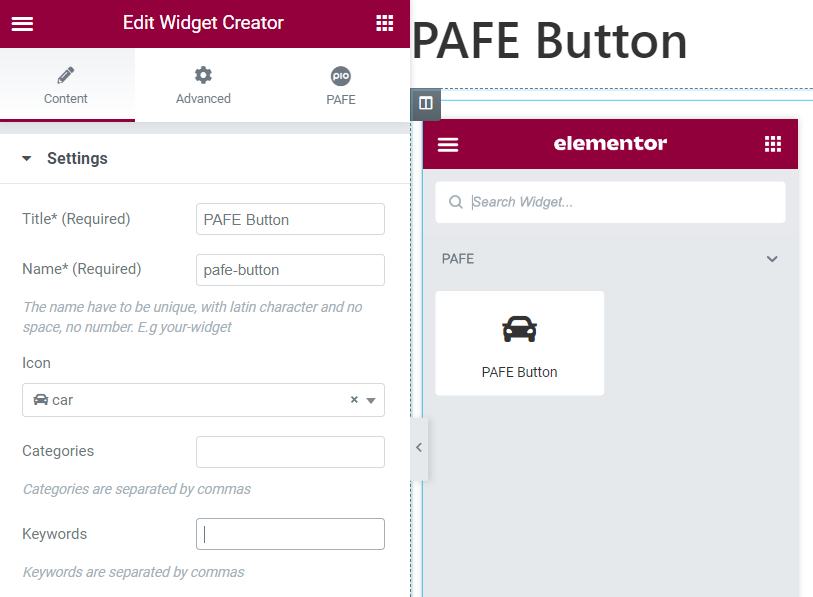
A place to configure your main elements. Click on![]() it to show the first element. There are two important fields that you need to take note:
it to show the first element. There are two important fields that you need to take note:
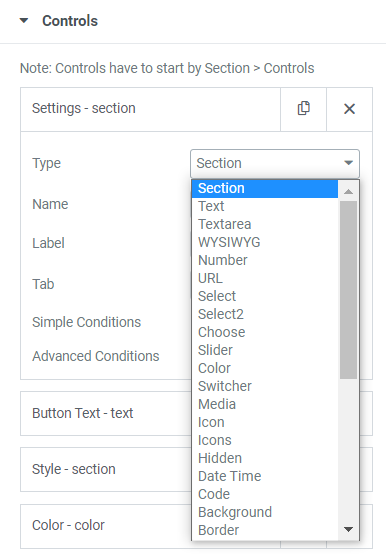
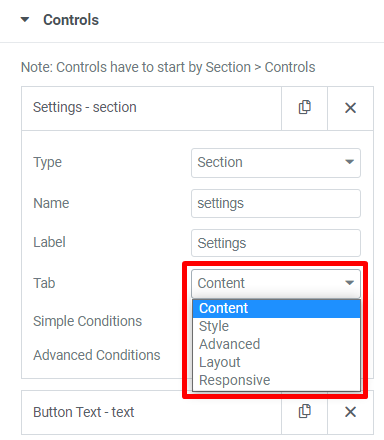
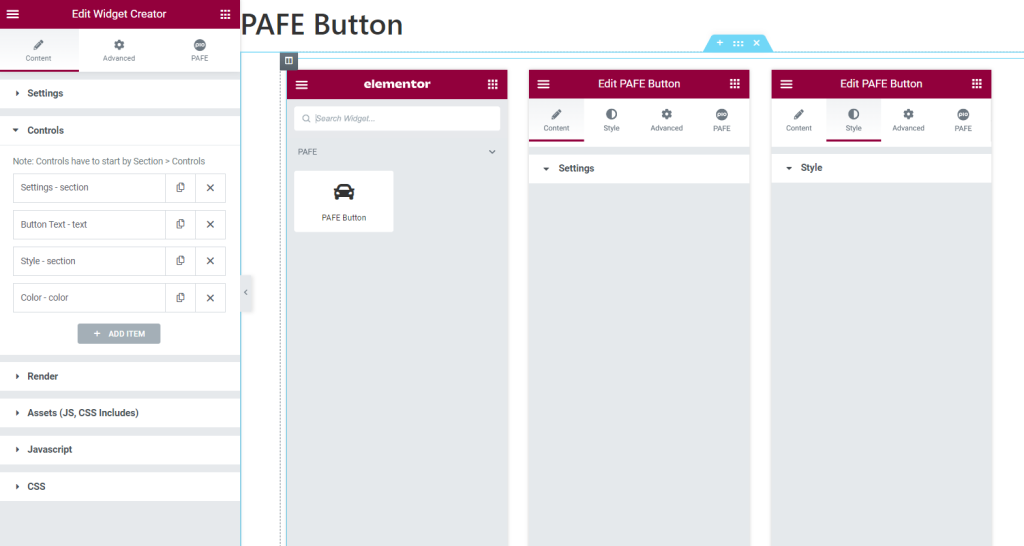
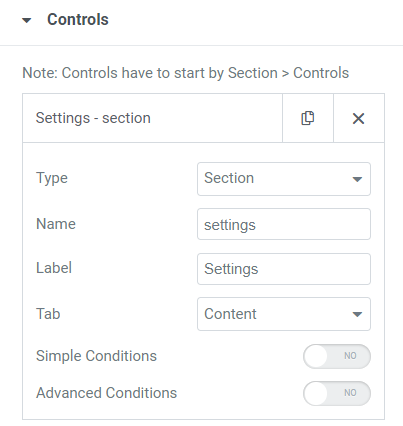
Settings - section
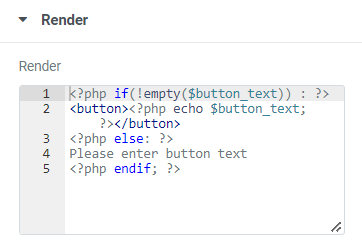
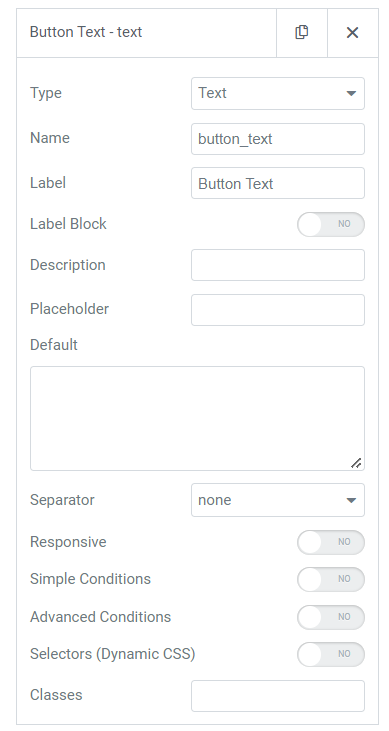
Button Text - text
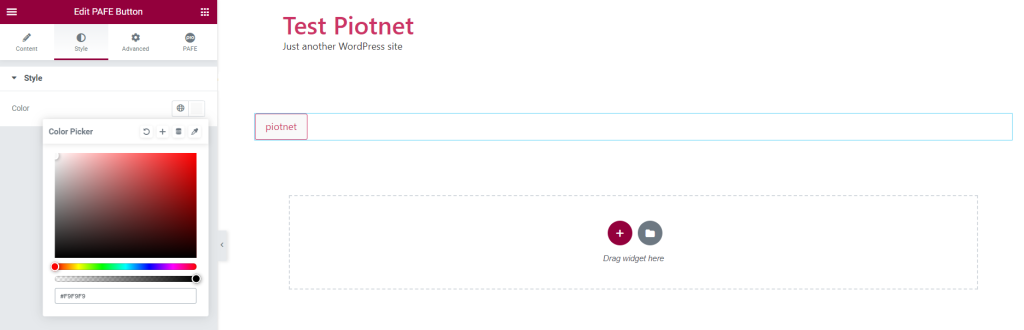
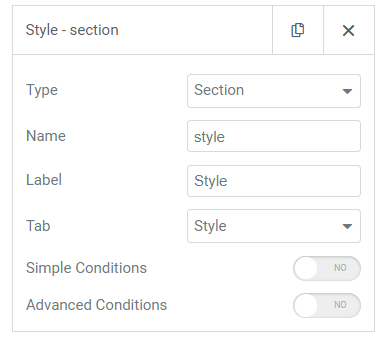
Style - section
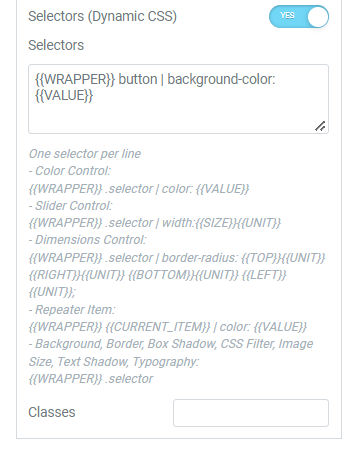
Color - color
Settings - section
Button Text - text
Style - section
Color - color