
Mailerlite V2 stores customer information for the purpose of marketing and business development.
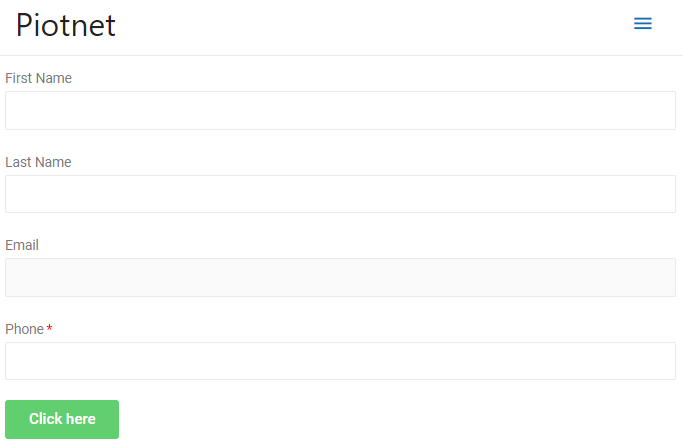
Step 1: Create a form with the necessary information.
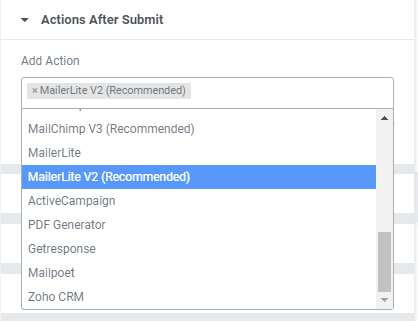
Step 2: Click Submit button -> Action after Submit -> Mailerlite V2.
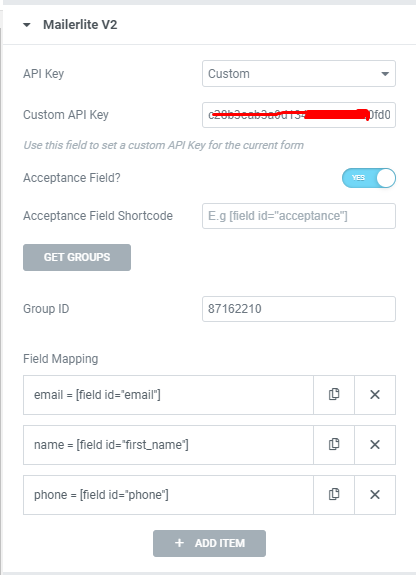
Step 3: Select the API type:
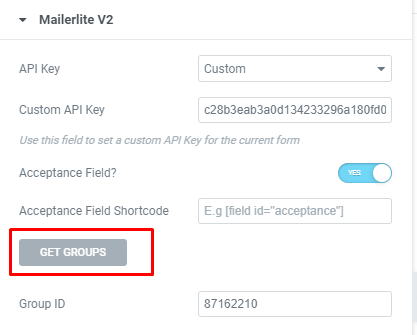
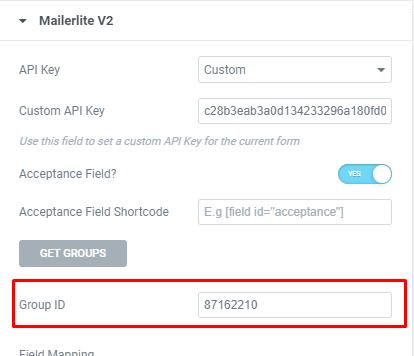
Step 4: After filling in the API key information, click GET GROUP to get the information of the groups and fields map.
Step 5: Select the group ID you want to save customer information and enter the Group ID.
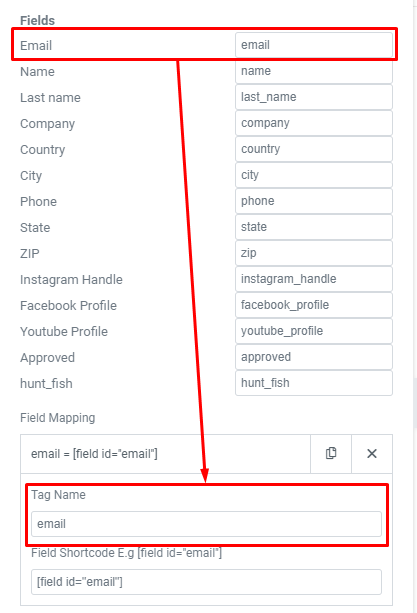
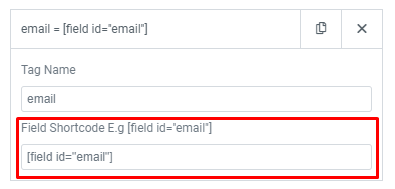
Step 6: Map field mapping:
Step 7: Complete all the Field mapping and check the form operation

also check your spam folder.
