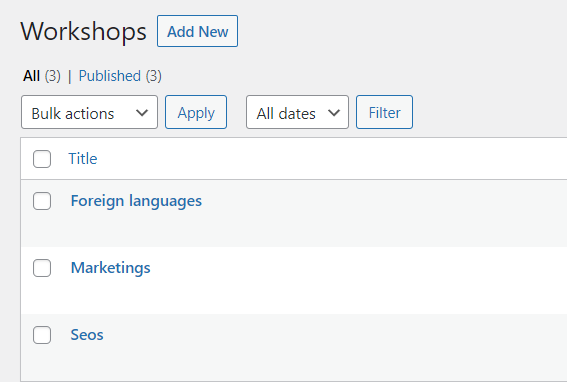


Imagine that you have a Workshop Post type that includes upcoming events. In these events, they have a standard form format in order for participants to register.
Depending on specific events, the form will be sent to different target email addresses.
Instead of creating manually multiple forms for posts, you just need to create only a standard form. This article will show you to manage it.
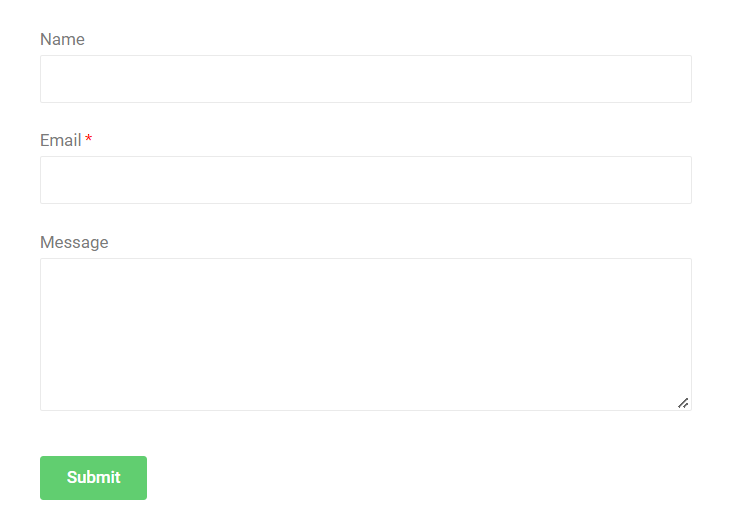
Set up an Email Custom field type (Mandatory) and a corresponding condition rule.
You can apply Post, ACF, Metabox, JetEngine, Pods, and Toolset Custom field.
Complete the email data input for all posts of this Post Type.
Use a hidden field as a connection bridge in your form.
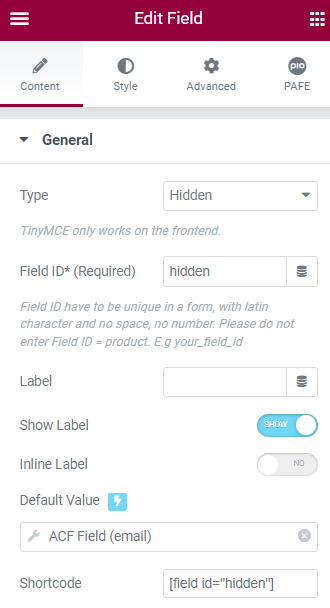
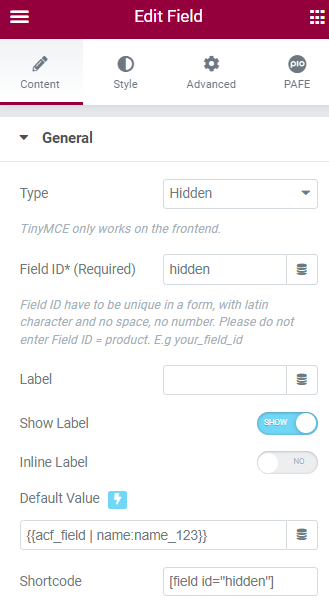
Implement a hidden field in your form.
Edit the Hidden field > Default Value > Elementor Dynamic Tags > ACF Field > choose your email custom field.
Edit the Hidden field > Default Value > PAFE Dynamic Tags > ACF Field as in this demonstration > choose your email custom field.
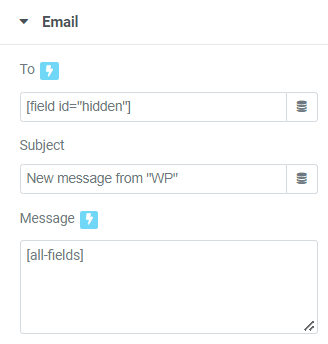
Embed the shortcode of the hidden field to the Email box (Action After Submit)
Apply this form for your single template (Templates > Theme Builder)

also check your spam folder.
