PAFE Widget Creator is one of the highlighted features in PAFE version 7.0.
A unique and easy-to-use framework that helps you to create custom Elementor widgets in minutes with just basic coding knowledge instead of setting up third platforms or customizing your function file in Themes.
- Easy Widget Creation: Create custom widgets using our unique widget creator framework, giving you the freedom to make anything.
Flexible application and boost your workflow: Just need to create for the one-time and easy to import/export between your websites.
Professional Workflow: Use the graphic interface to add attributes and make professionally customized widgets precisely for your website’s needs.
Enhancing Elementor: Eliminate the need for multiple plugins and build professional widgets that elevate your website in minutes.
Deatailed Tutorials to use Widget Creator
Step 1: Initialization
In the beginning, make sure that you already updated the PAFE version 7.0
Then go to your Dashboard > PAFE Panel > All Widgets Tab.
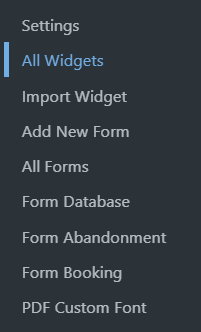
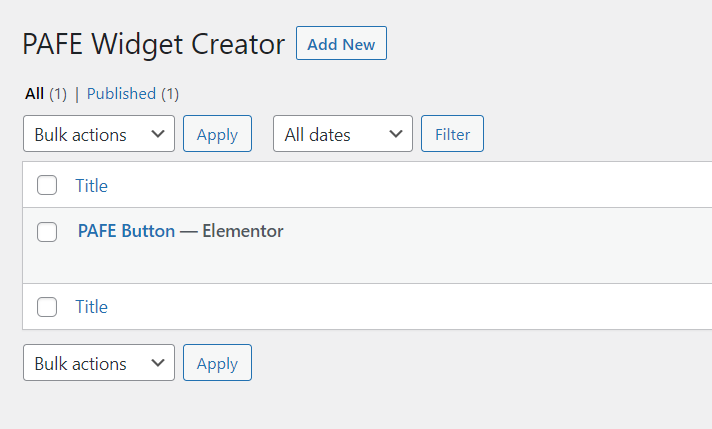
All your self-created widgets will be stored here.
Click on “Add New” to create your first widget.
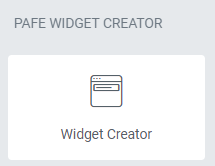
On Elementor Editor Panel, search the PAFE Widget Creator, then drag & drop to the editor area.
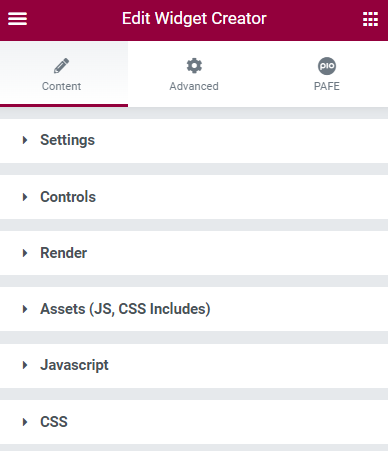
Edit this widget > Content Tab.
There are 6 remarkable categories to configure: Settings, Controls, Render, Assets, JavaScript, and CSS.
For a visual example, we will demonstrate how to create a simple button widget.
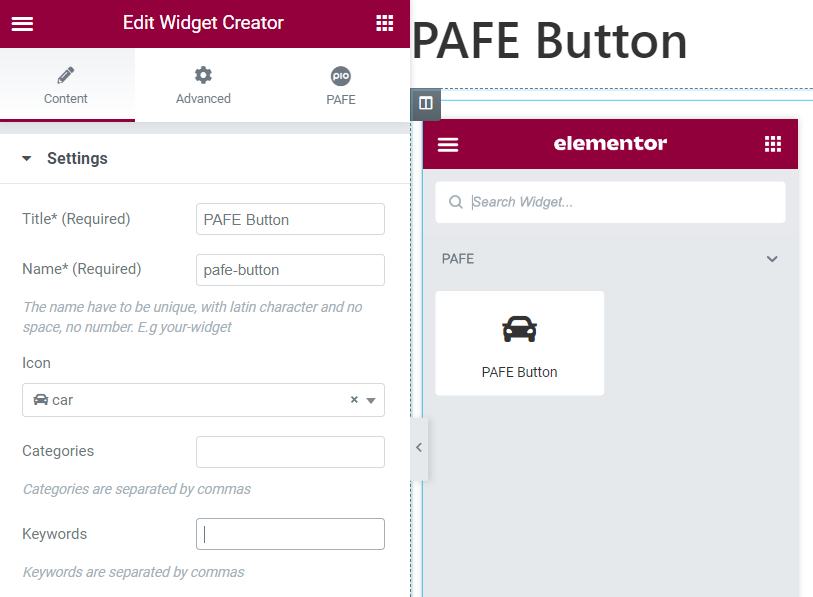
Step 2: General Settings
- Title*: Displayed editor name for your widget (mandatory field)
- Name*: Similar to a slug name, this name has to be unique, with Latin characters and no space, no number. Separated by dashes like Slug’s format. E.g. your-widget (mandatory field)
- Icon: Thumbnail Icon of your widget.
- Categories: Separated by commas
- Keywords: Separated by commas
Step 3: Controls
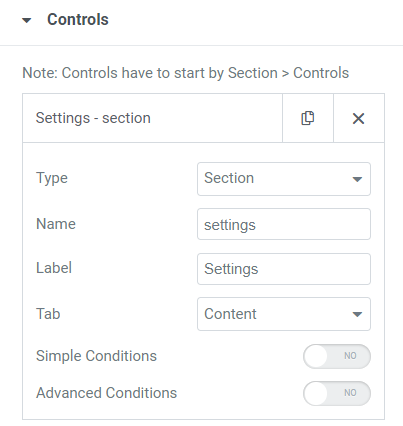
A place to configure your main elements. Click on![]() it to show the first element. There are two important fields that you need to take note:
it to show the first element. There are two important fields that you need to take note:
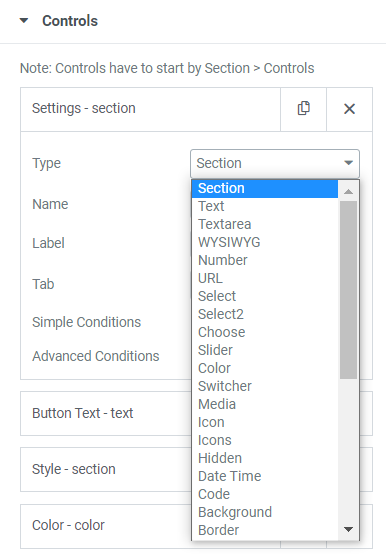
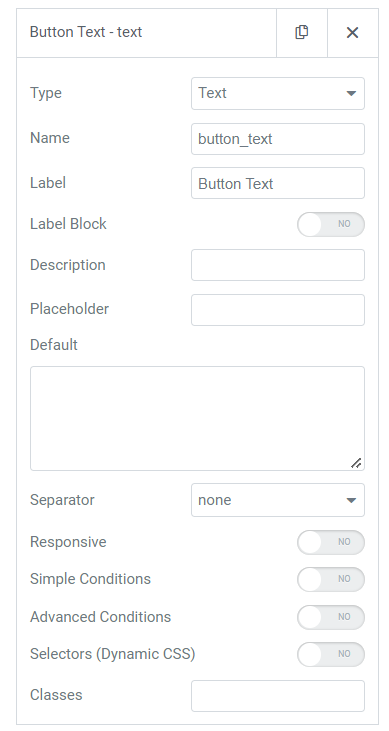
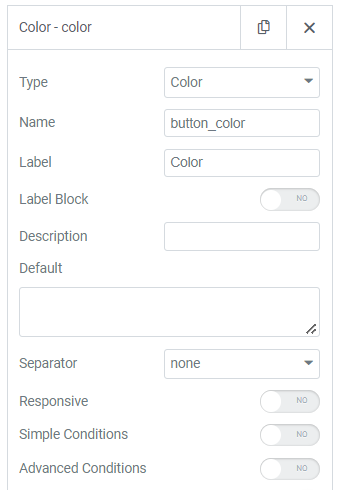
- “Type”: There are various types such as Section, Text, Text Area, Number, etc.
Notice that Controls must start with “Section” type.
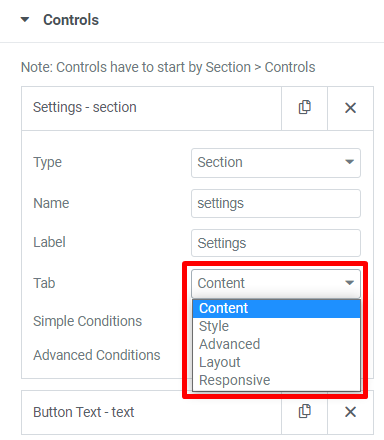
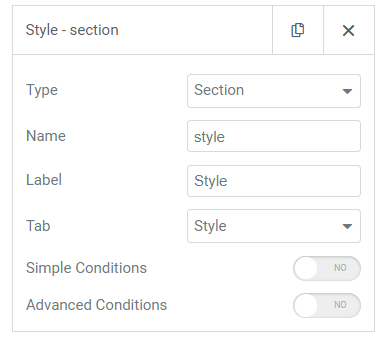
- “Tab”: Locate a specific Tab, there are five Tabs: Content, Style, Advanced, Layout, and Responsive.
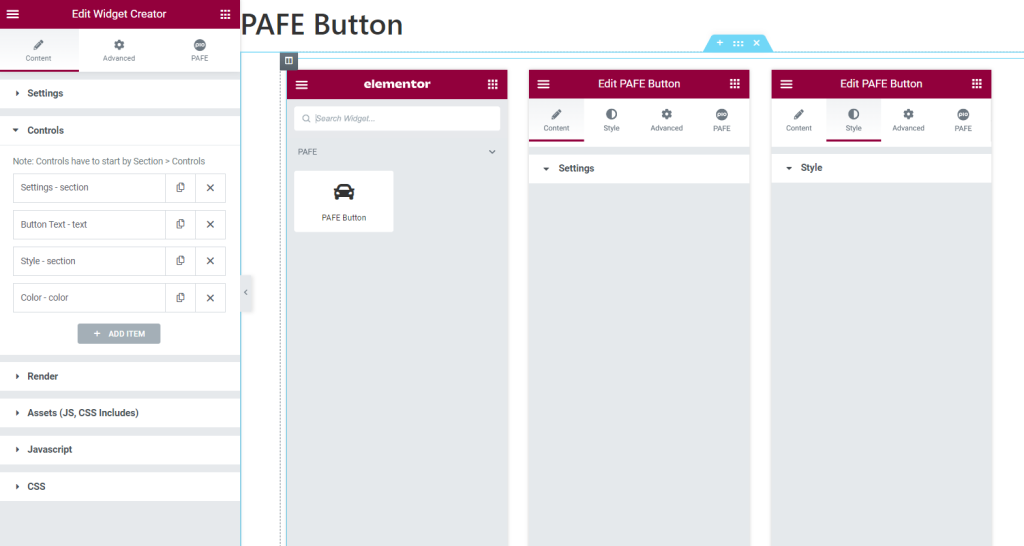
Back to the illustration setup of the button Controls example:
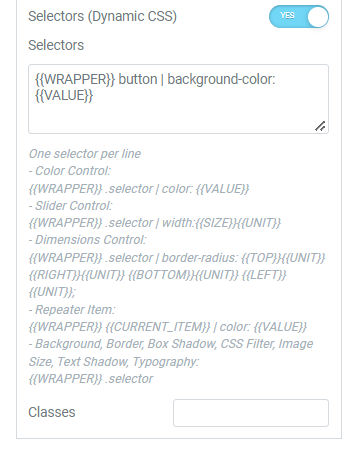
Step 4: Render
You can use PHP or Twig. (A reference source for Twig Document )
Control Values:
– PHP: $control_name
– Twig: {{control_name}}
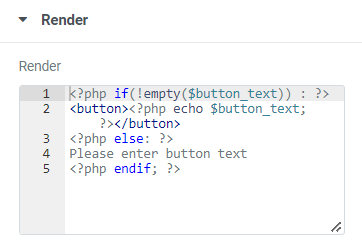
					<?php if(!empty($button_text)) : ?>
<button><?php echo $button_text; ?></button>
<?php else: ?>
Please enter button text
<?php endif; ?>
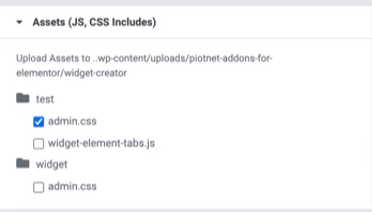
Step 5: Assets (JS, CSS Includes)
Please upload manually Assets files to “wp-content/uploads/piotnet-addons-for-elementor/widget-creator”
Step 6: JavaScript
You can customize your JavaScript here.
Step 7: CSS
A place to configure the custom CSS

Step 8: Apply a new widget
After completing your first widget, you can use this one in anywhere of Elementor environment.
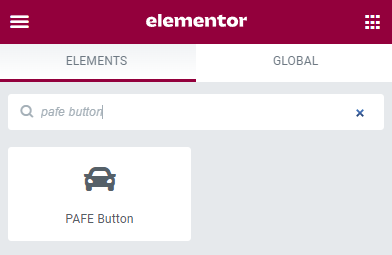
Results in Elementor Editor:


Step 9: Import/Export Widgets
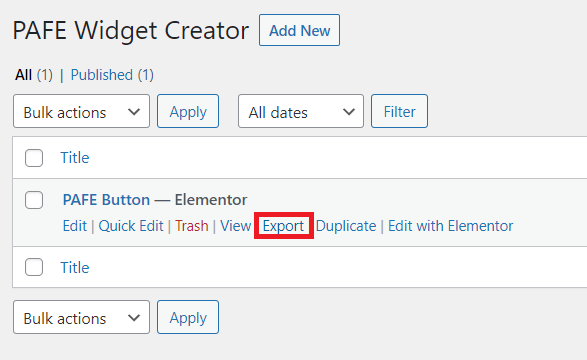
You can easily export a widget to a zip file:
Dashboard > PAFE Panel > All Widgets > Choose one and click on “Export”.
After that, a Zip file will be downloaded.
To reuse that widget on other Websites:
Dashboard > PAFE Panel > Import Widget > Choose file (Zip file) > Import Now.


