
Zoho CRM is a tool to store customer information and provide customer management, automated marketing, enterprise development solutions, and departmental systems.
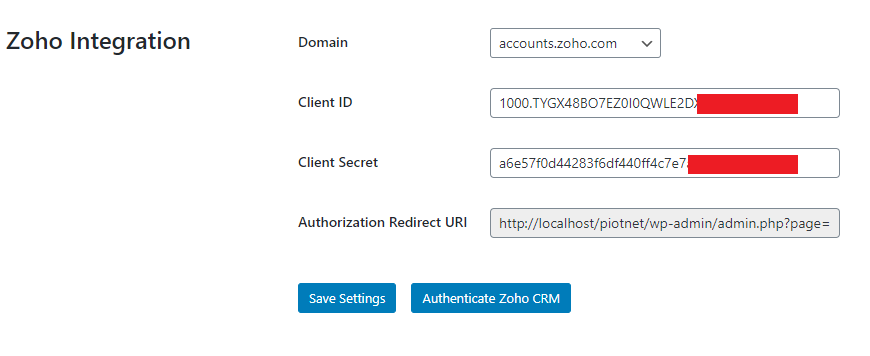
Step 1: Access the admin page: Piotnet Addons -> Settings > Integration > Zoho Integration select the appropriate Domain and fill in the Client ID and Client Secret information, click Save Settings to save the changes.
Domain: You must use your domain-specific Zoho Accounts URL to generate access and refresh tokens. The following are the various domains and their corresponding accounts URLs.
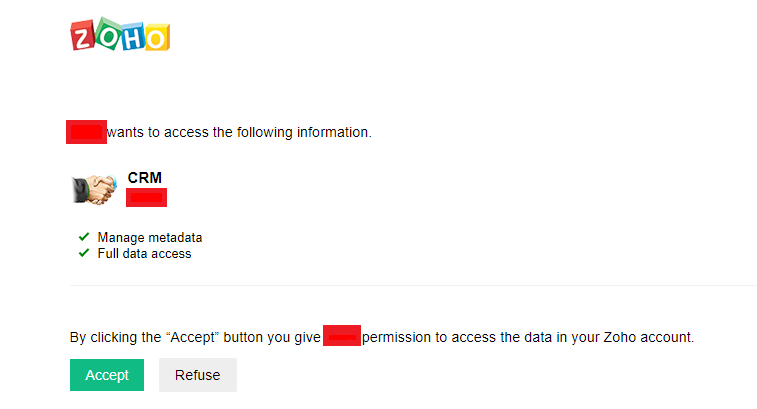
Step 2: After saving the valid information, click Authenticate Zoho CRM to confirm access.
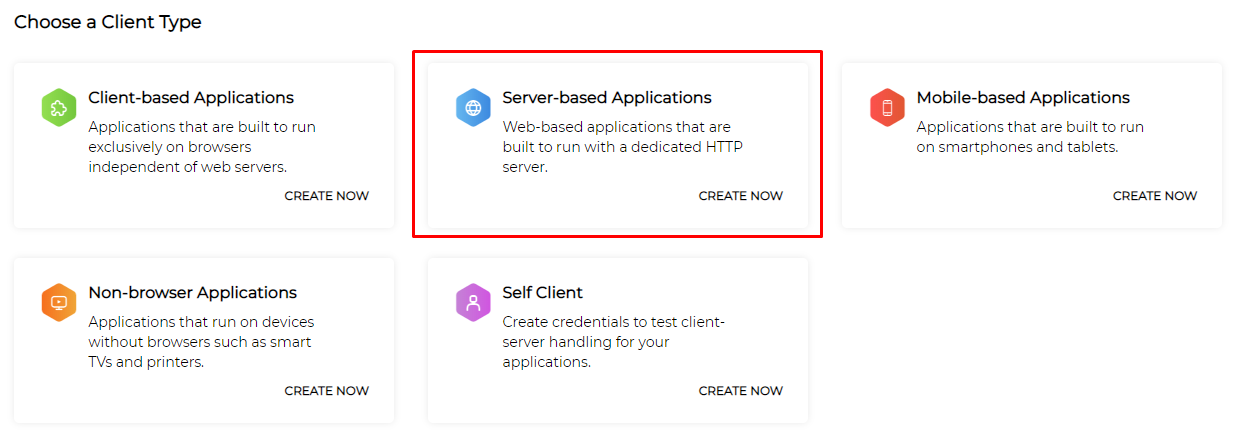
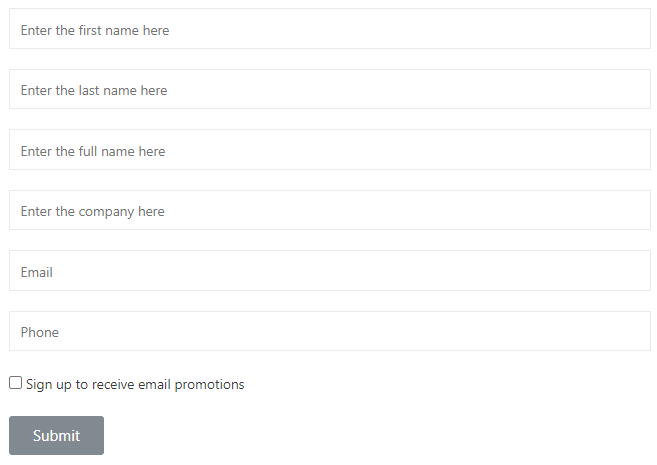
Step 3: Create a form to collect necessary information.
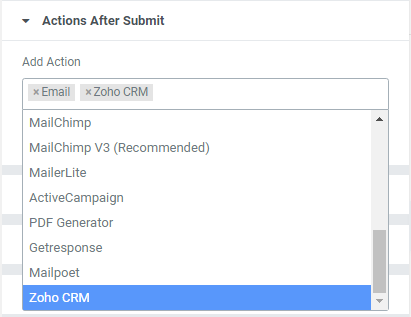
Step 4: Click submit button -> Actions After Submit -> Add Action, select Zoho CRM.
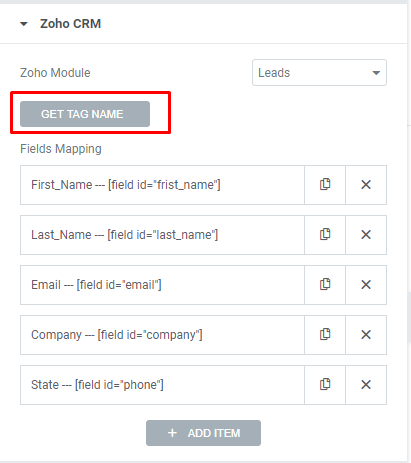
Step 5: In Zoho CRM section select the appropriate module to save customer information. Then click GET TAG NAME. The list of Tag Name will be displayed.
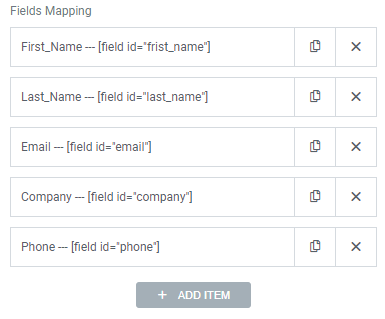
Step 6: Mapping the fields and the corresponding shortcode to save information into Zoho CRM.
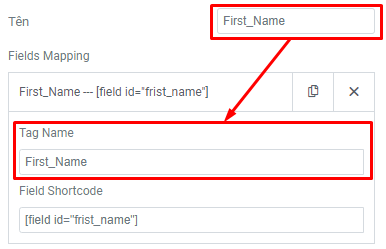
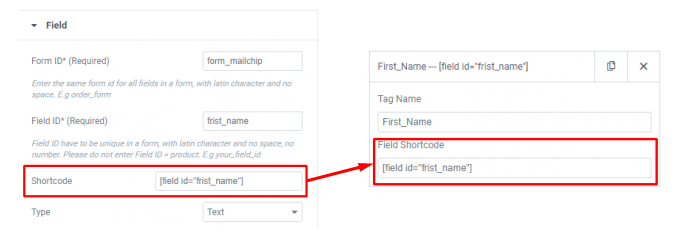
Example (Field First Name):
Check form activity.
Notice: while inserting records there are a few system-defined mandatory fields that you need to mention. In order to successfully insert records in Zoho CRM, make sure you enter user-defined mandatory fields too.
Please refer to System-defined mandatory fields for each module

also check your spam folder.
